Optimal Timing for Moisture Barrier Installation
Moisture barrier installations are most effective when performed under optimal environmental conditions. Typically, the best time is during dry seasons with low humidity levels, as moisture control materials adhere better and are less likely to trap existing moisture. Proper planning ensures that the installation is not compromised by rain, snow, or high humidity, which can lead to future issues such as mold growth or material deterioration.
Dry, stable weather with low humidity minimizes risks and enhances adhesion of moisture barriers.
Spring and early summer often provide optimal conditions for installations due to moderate temperatures and lower moisture levels.
Performing installations during periods of low precipitation reduces the risk of moisture infiltration during the process.
Properly timed installations ensure maximum effectiveness and durability.

Choosing the right season can improve adhesion and reduce future repairs.
Weather conditions play a crucial role in the success of moisture barrier applications.

Ways to make Moisture Barrier Installations work in tight or awkward layouts.
Popular materials for Moisture Barrier Installations and why they hold up over time.
Simple add-ons that improve Moisture Barrier Installations without blowing the budget.
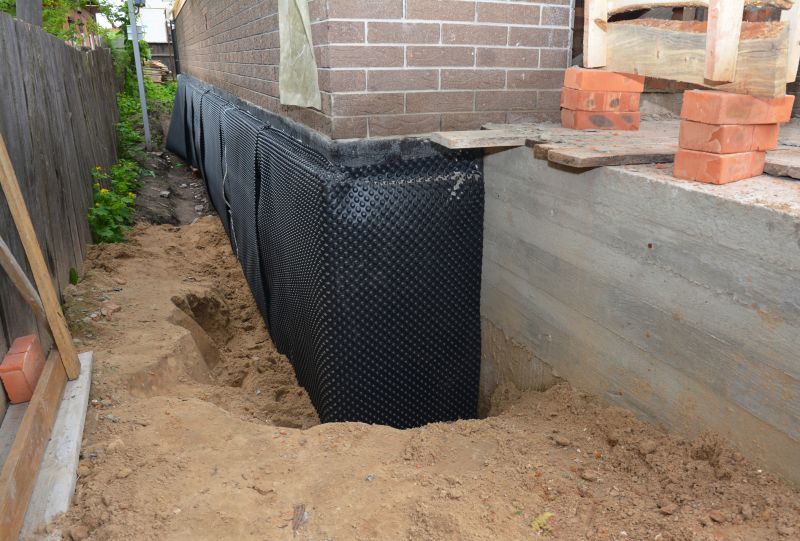
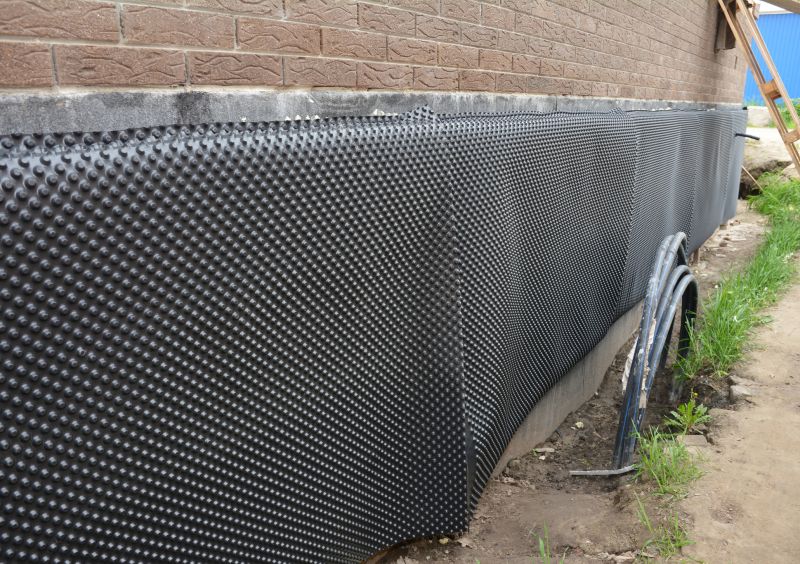
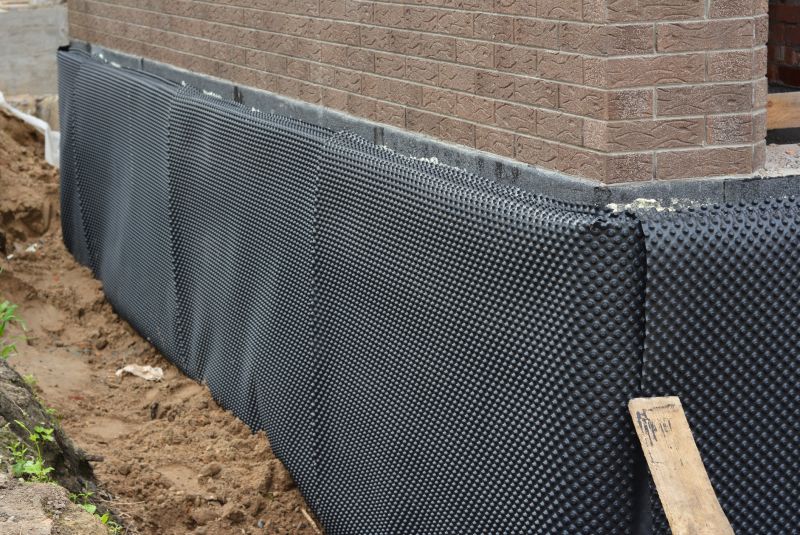
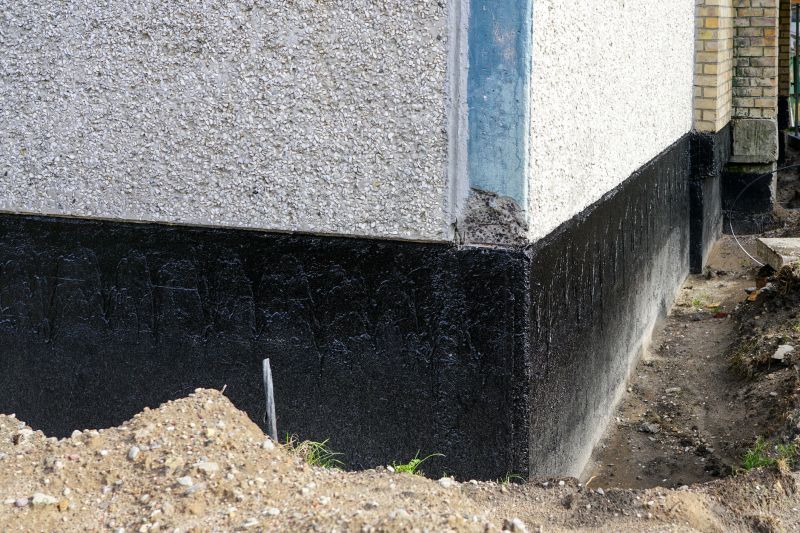
Moisture barrier installations are a critical component in preventing water intrusion and protecting structural integrity. They are often used in basements, crawl spaces, and foundation walls to block moisture from penetrating the building envelope. The effectiveness of these barriers depends on proper installation, which is influenced by environmental conditions. When installed correctly, moisture barriers can significantly reduce the risk of mold, mildew, and structural damage caused by water infiltration.
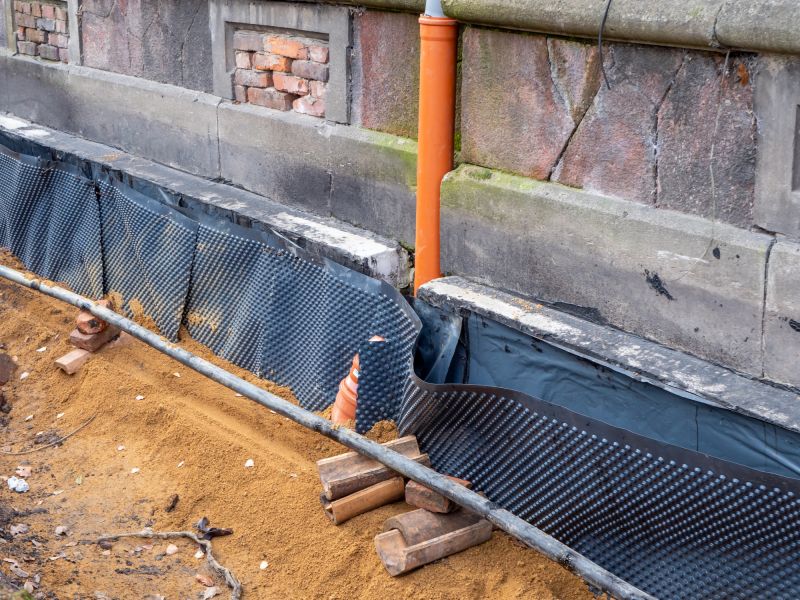
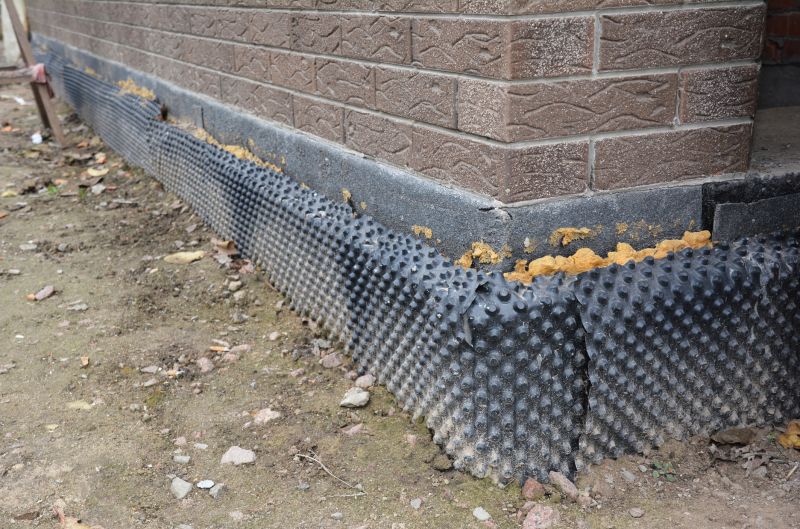
Ensures dry and stable foundation surfaces.
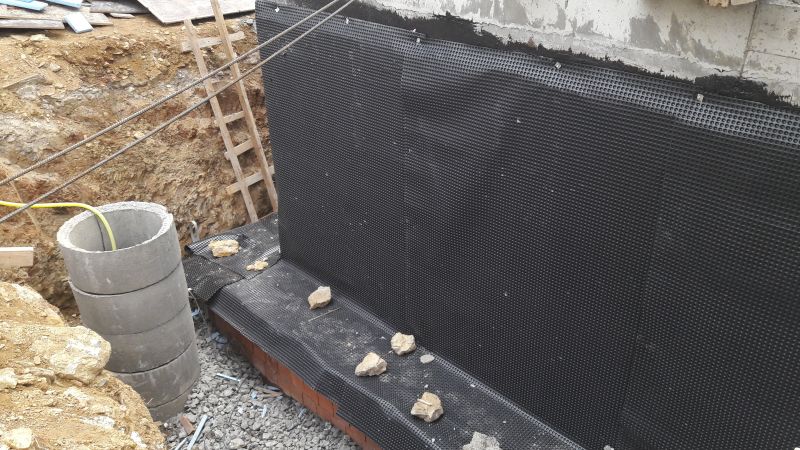
Protects basements from water seepage and dampness.
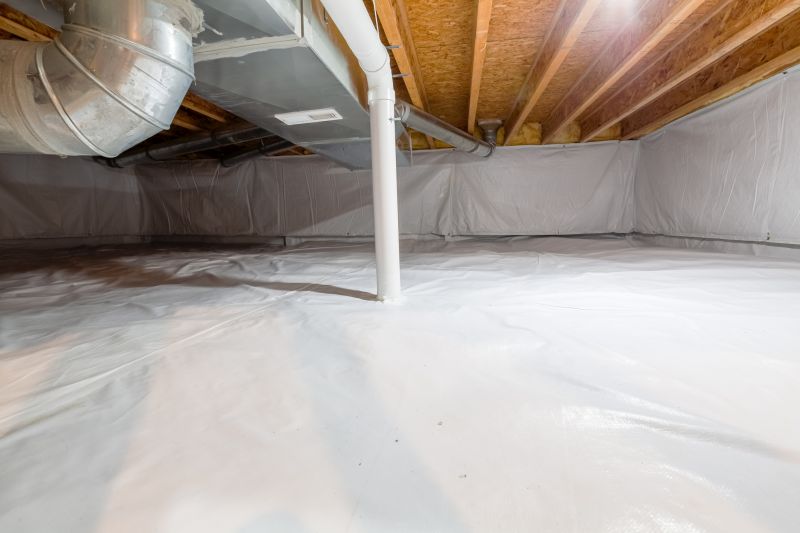
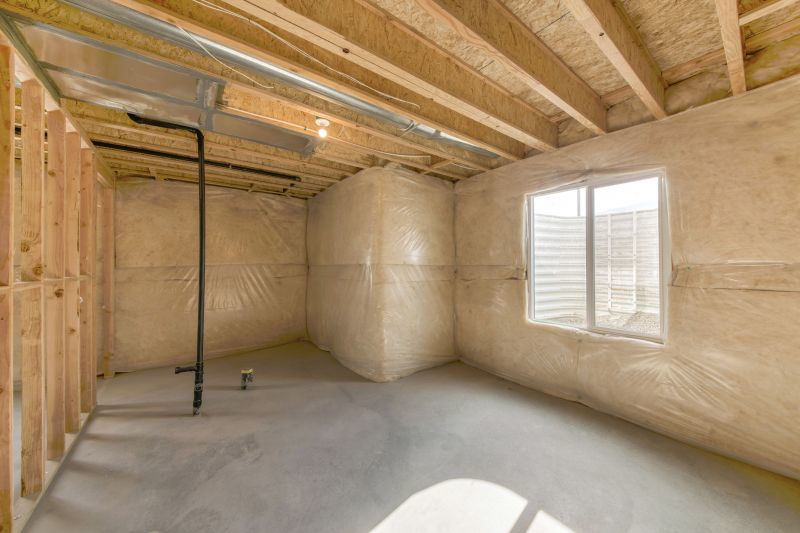
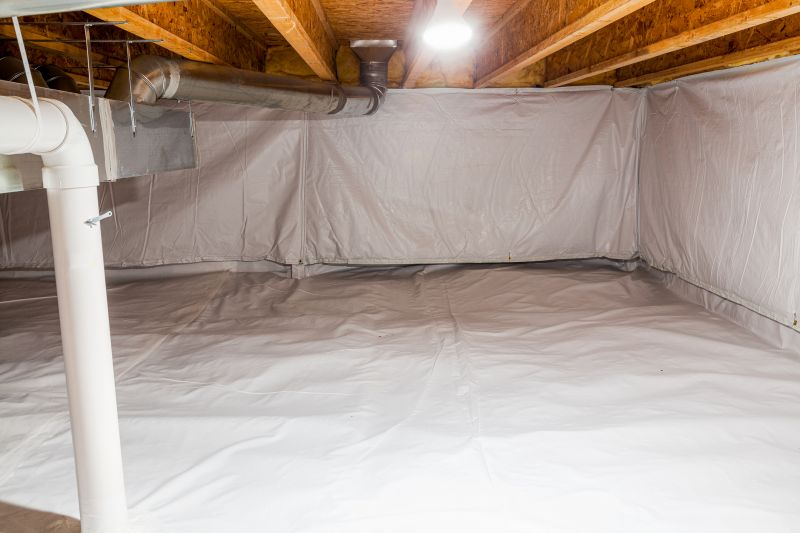
Prevents moisture buildup in crawl spaces.
Enhances insulation effectiveness by preventing moisture intrusion.
High-end options that actually feel worth it for Moisture Barrier Installations.
Finishes and colors that play nicely with Moisture Barrier Installations.
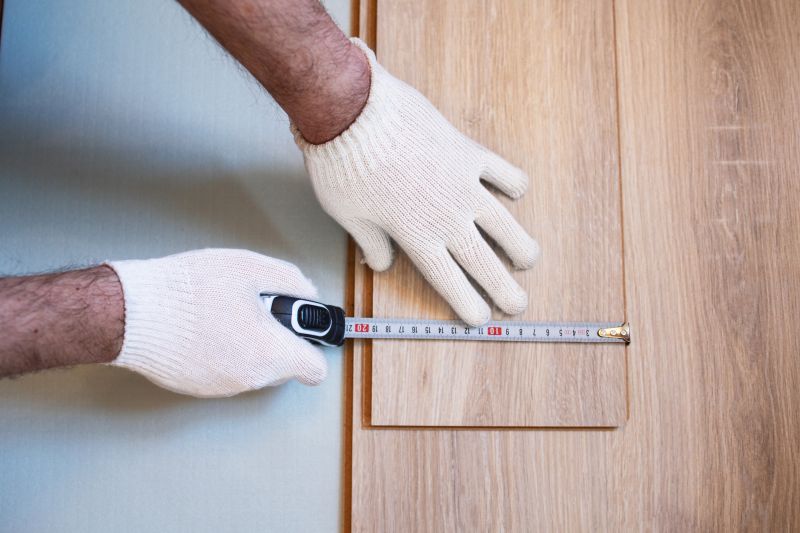
Little measurements that prevent headaches on Moisture Barrier Installations day.
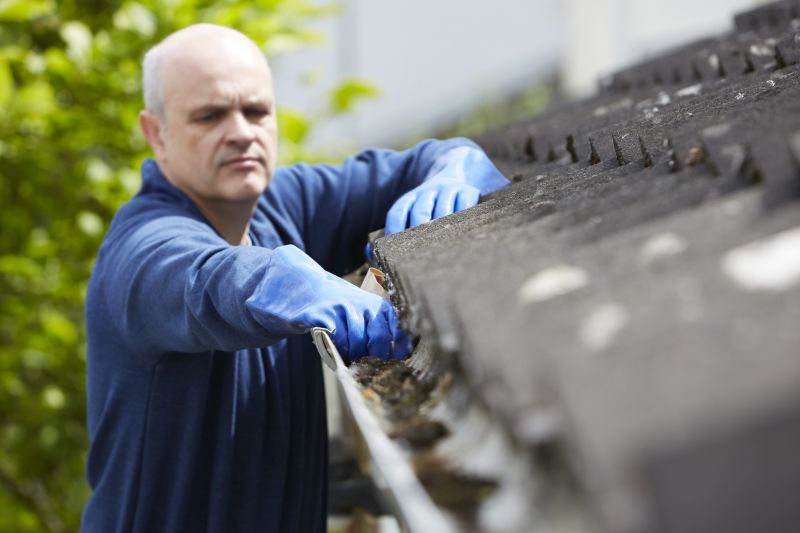
A 60-second routine that keeps Moisture Barrier Installations looking new.
| Season | Optimal Conditions |
|---|---|
| Spring | Moderate temperatures and low humidity |
| Early Summer | Stable weather with minimal rain |
| Late Summer | Dry and warm conditions |
| Fall | Cooler temperatures with dry air |
| Winter | Not recommended due to moisture and precipitation |
Choosing the right time for moisture barrier installation can enhance the longevity and performance of the materials used. Proper timing reduces the likelihood of future repairs and ensures the barrier performs as intended. Consulting with professionals can help determine the most suitable window based on local climate patterns and specific project requirements.
Optimal for durable and effective moisture barriers.
Choosing appropriate materials for the season improves results.
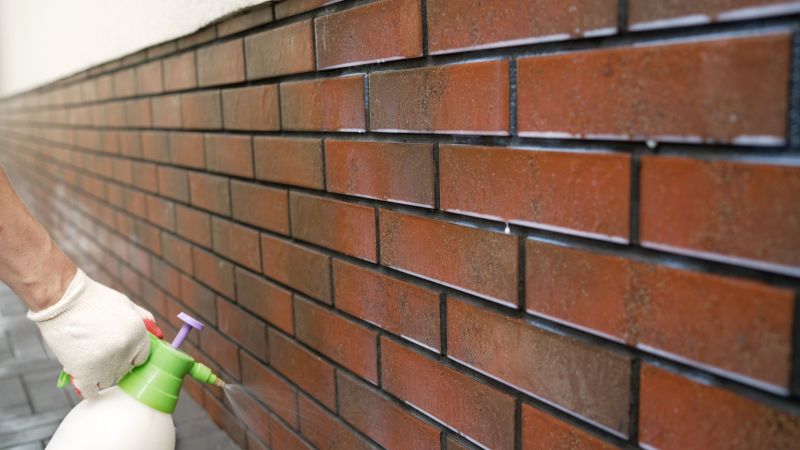
Ensure surfaces are dry and clean for best adhesion.
Verify proper application and sealing after installation.

A frequent mistake in Moisture Barrier Installations and how to dodge it.
Small tweaks to make Moisture Barrier Installations safer and easier to use.
Lower-waste or water-saving choices for Moisture Barrier Installations.
The short, realistic tool list for quality Moisture Barrier Installations.
Proper timing and environmental considerations are essential for successful moisture barrier installations. Regular inspections and maintenance help ensure ongoing protection against moisture intrusion, preserving the structural integrity of the building and preventing costly repairs.
Interested in moisture barrier installations? Filling out the contact form can provide further information and assistance tailored to specific needs.